Ship in a Bottle - Part 1
Ship in a Bottle: Part 1
I have been working on a ship-in-a-bottle kit for some time, and have documented some of the steps taken. Here is a brief pictorial journey.
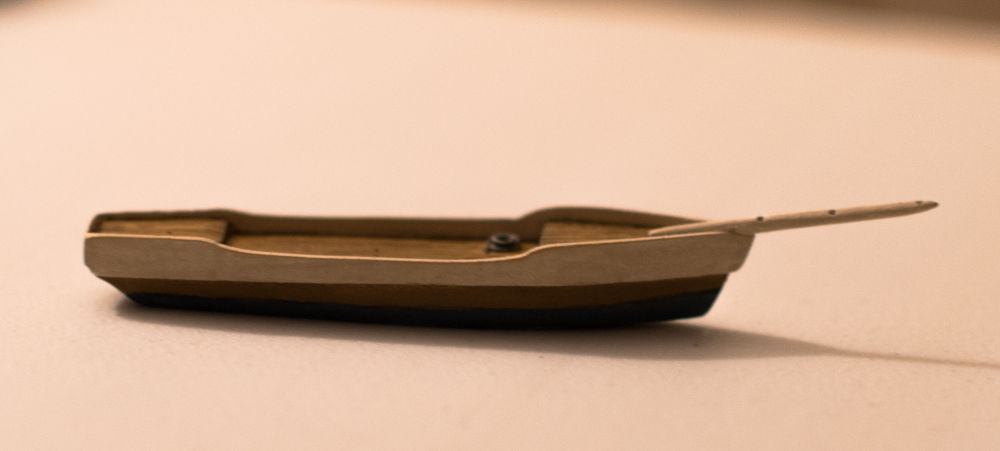
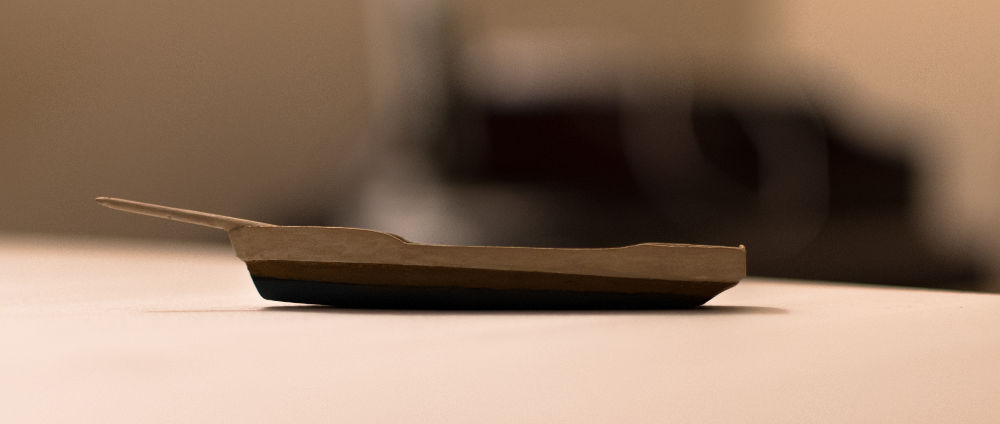
First, I cut, sanded, washed, and glued the various pieces together that make up the main ship. I then drilled holes into it, where the masts and rigging will be held in place. I did likewise for the masts.
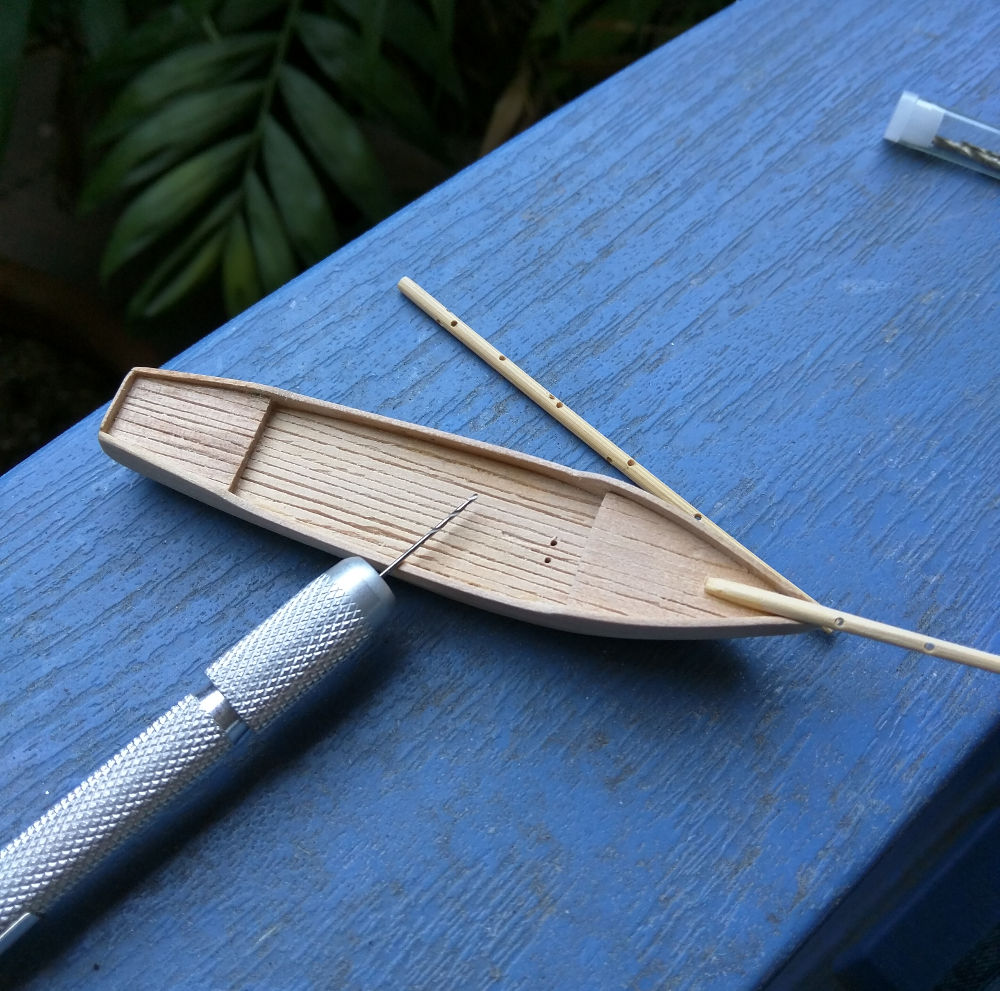
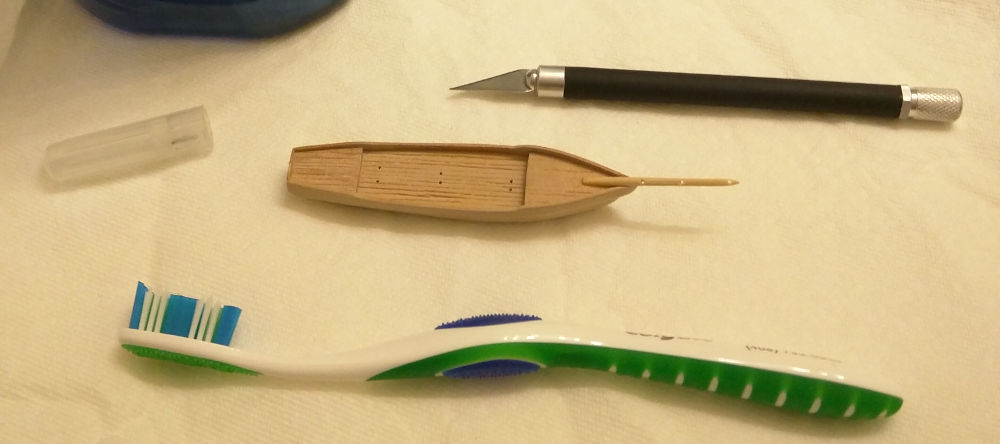
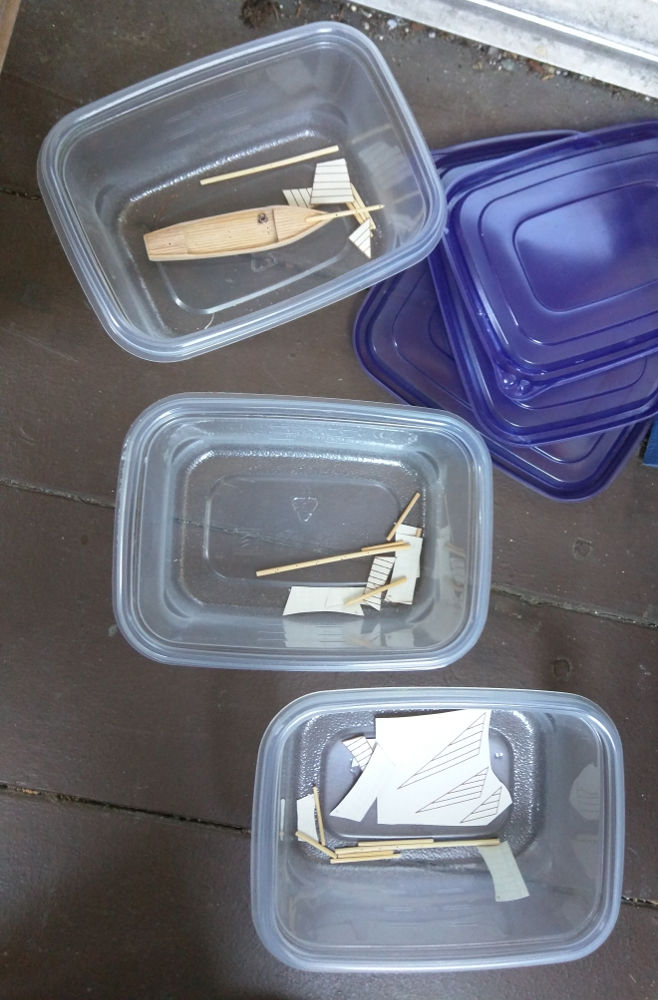
After finishing, I scrubbed down the ship and masts, to ensure a clean surface for painting.
Next, I prepared everything for priming. I also twisted some fine wire and glued it to the main ship, to serve as a rope.
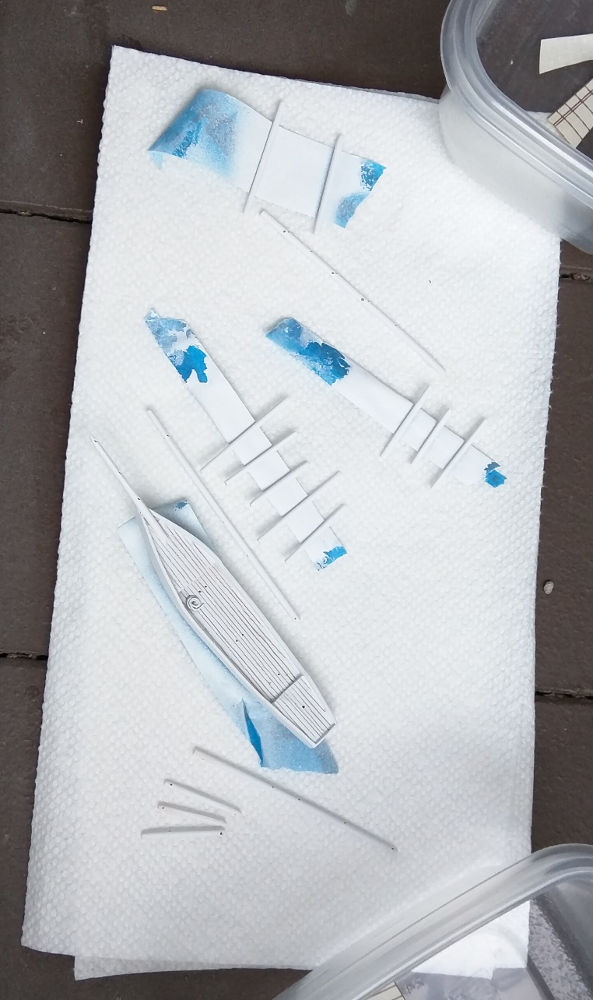
Then came the priming, which is an aerosol “paint” applied before the actual paint, which increases the bonding strength of the paint and also ensures a consistent canvas:
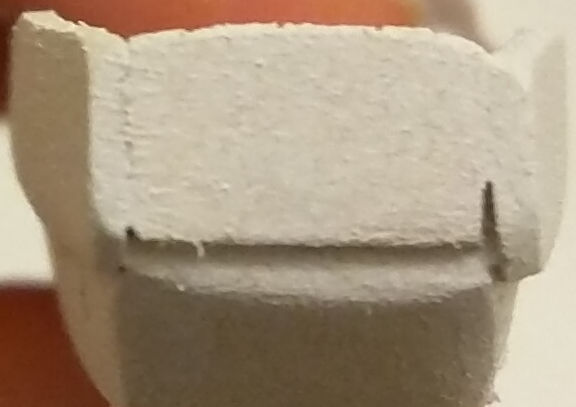
Afterward, I inspected the ship for defects and found two: one area did not have good adhesion to the prime, and another had a gap.
I sanded down both areas. I also applied Milliput (a gap filler):
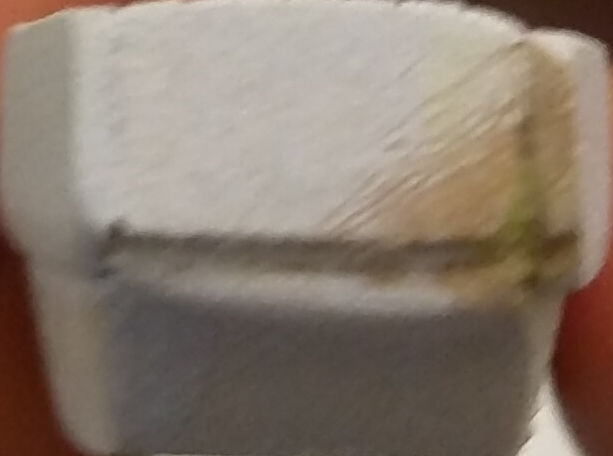
The ship was re-primed and has now been painted: